Step 0: Free download and install Tipard Apple TV Video Converter for Mac ( Intel Version and Power PC Version).
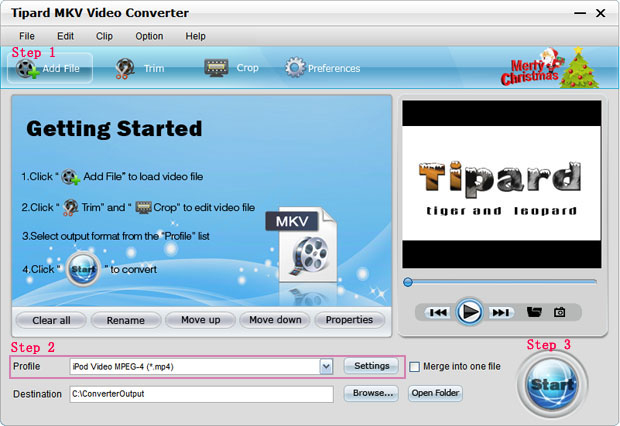
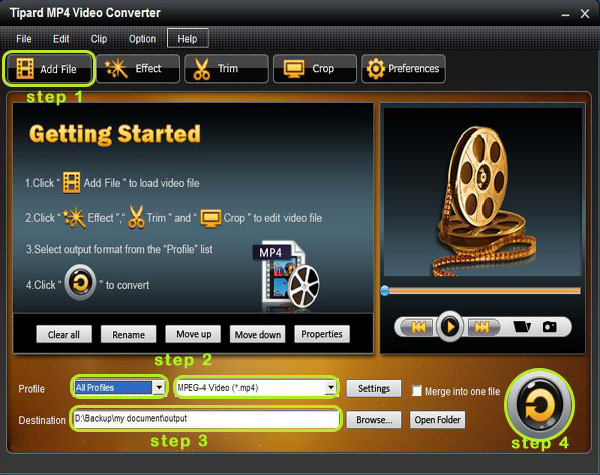
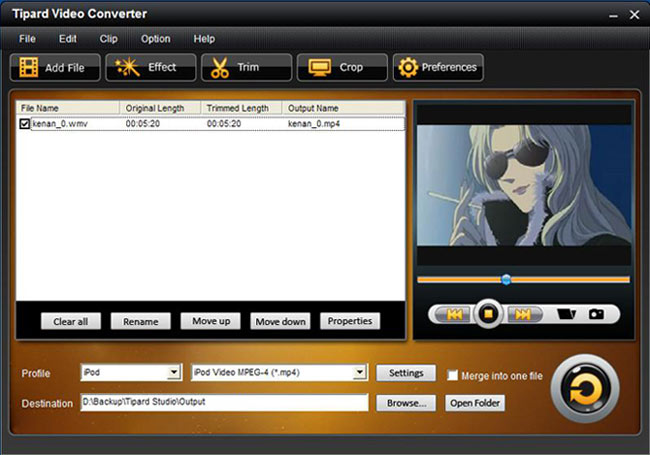
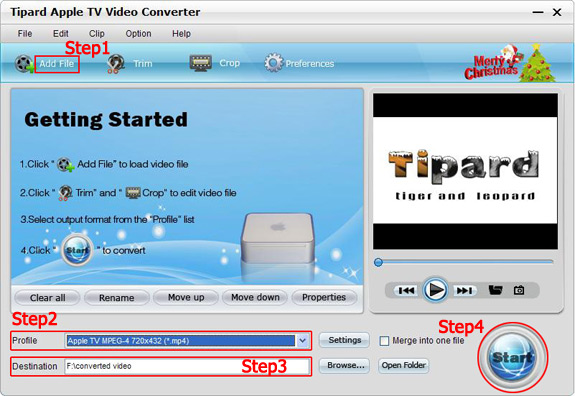
Step 1: Click "Add File" to load video or audio files.
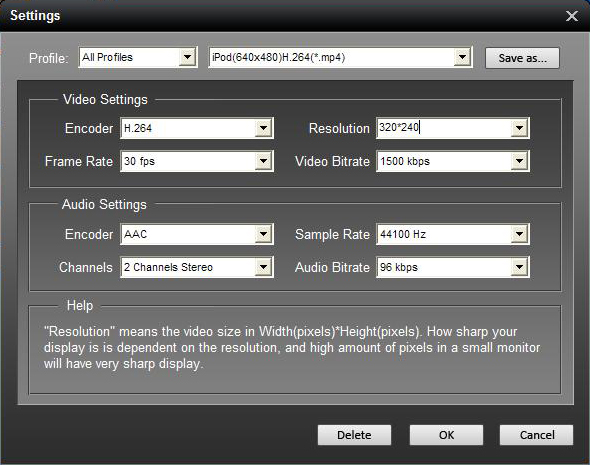
Step 2: Click "Profile" to select the right format you want. Moreover, you can set your own favorite mode by clicking "Settings".
Step 3: Click "Browse" to specify a location on your computer to save the converted video. If you want to open the output folder, you can just click "Open Folder".
Step 4: Click "Start" button to start conversion.

Some other functions are here:
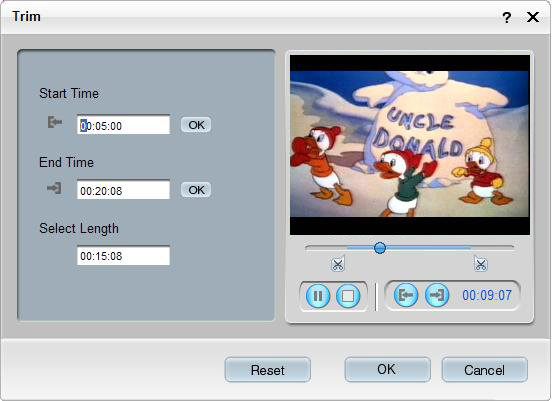
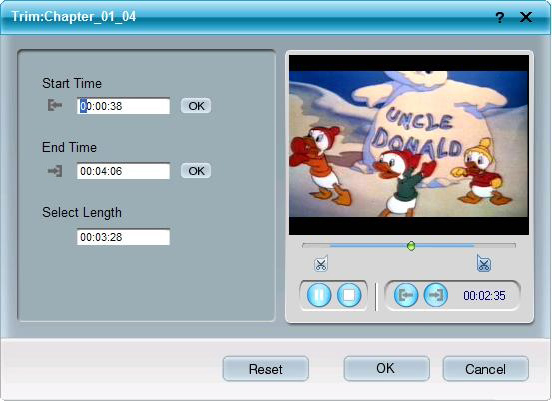
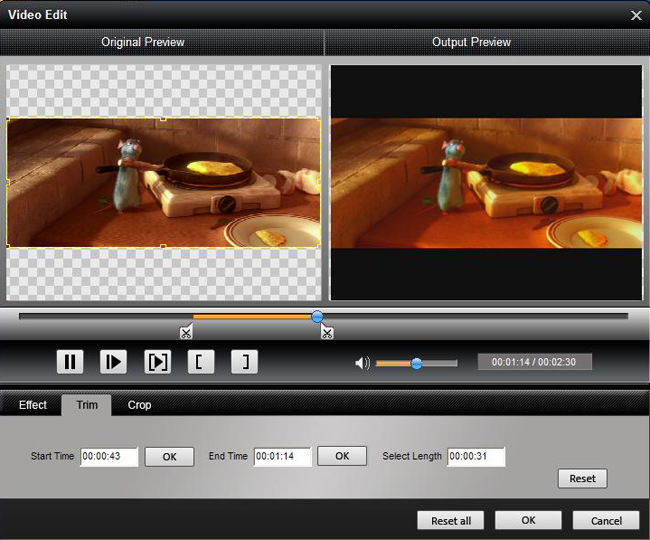
1. Trim:
With this function you can capture your favorite clips from your video. Click the "Trim" button and a Trim Window appears as follows:
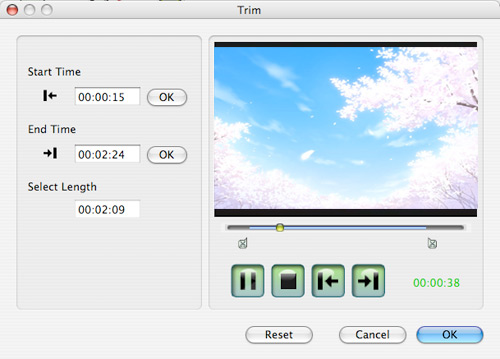
Enter the start time in the "Start Time" box and click "OK", then enter the end time in the "End Time" box and click "OK" and finally click "OK" on the lower.
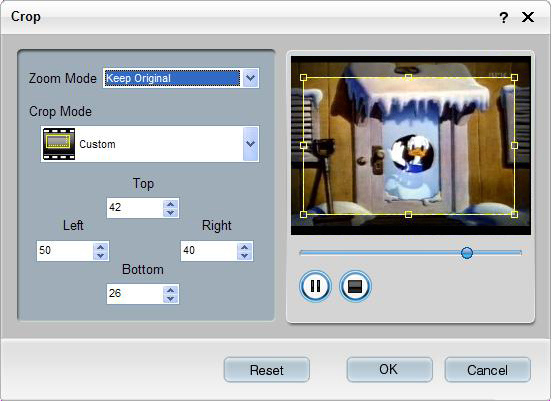
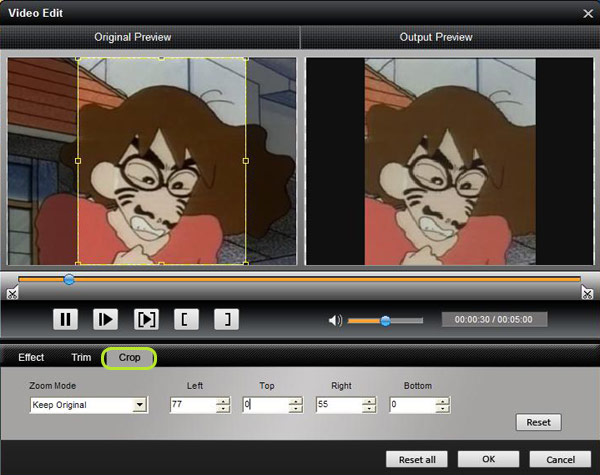
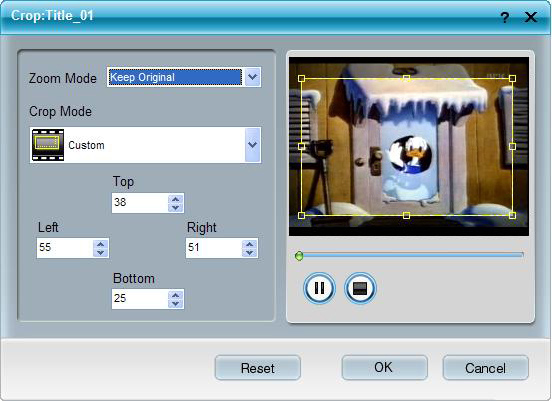
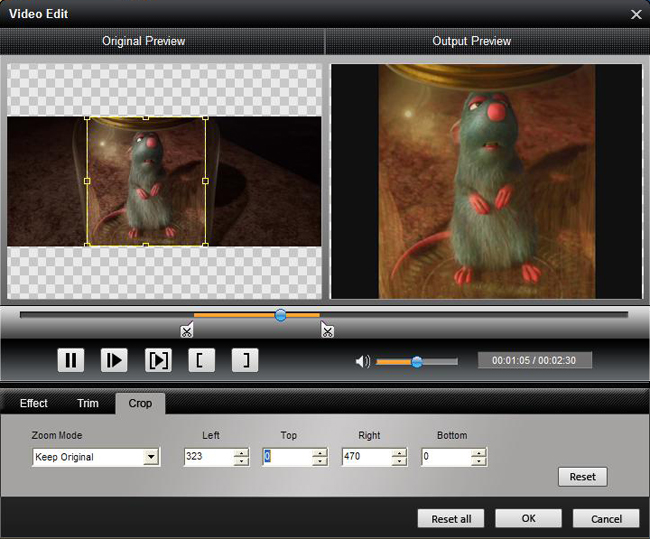
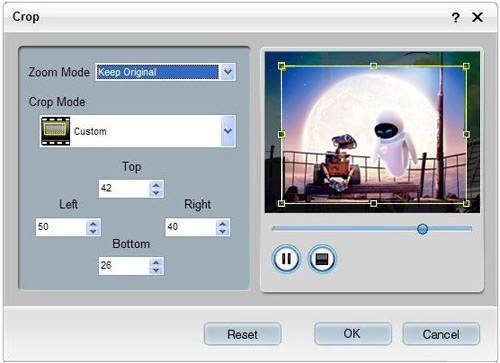
2. Crop:
You can easily remove the black edges around your video and customize the size of video play region. Click the "Crop" button and a Crop Window comes out before you as follows:
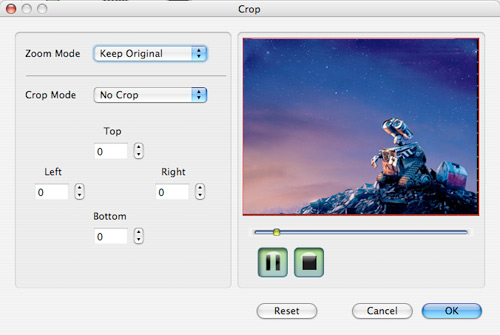
Select a crop mode in the Crop Mode drop-down list and click "OK" to save the crop. There are six pre-set crop modes for your choice.
3. Merge several chapters of video into one files
You could enjoy a single long movie by clicking "Merge into one file" button to merge several short videos.
OK, your conversion is finished now.
Secondly, Tipard Apple TV Video Converter
Step 0: Free download and install Tipard Apple TV Video Converter.
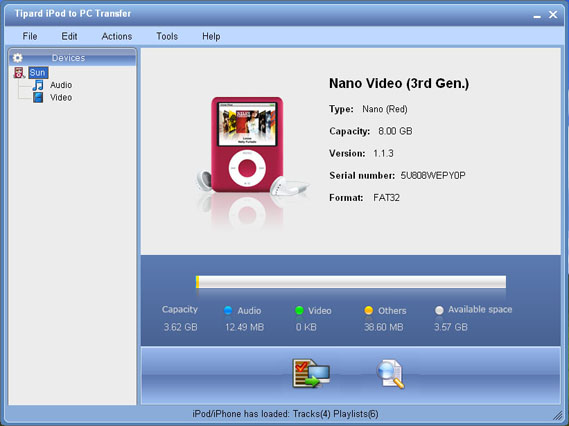
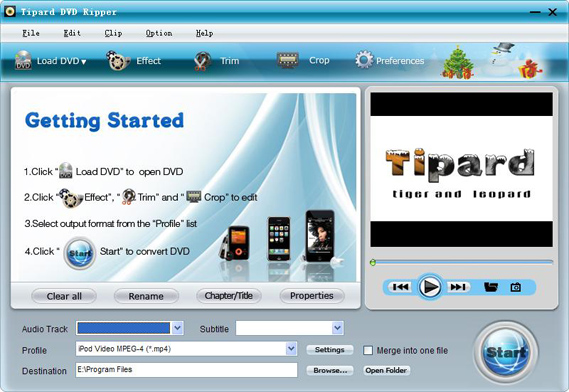
An interface comes out after installation:
Step 1: Click "Add File" to load video or audio files.
Step 2: Click "Profile" to select the right format you want. Moreover, you can set your own favorite mode by clicking "Settings".
Step 3: Click "Browse" to specify a location on your computer to save the converted video. If you want to open the output folder, you can just click "Open Folder".
Step 4: Click "Start" button to start conversion.
Some other functions are here:
1. Trim:
With this function you can capture your favorite clips from your video. Click the "Trim" button and a Trim Window appears as follows:
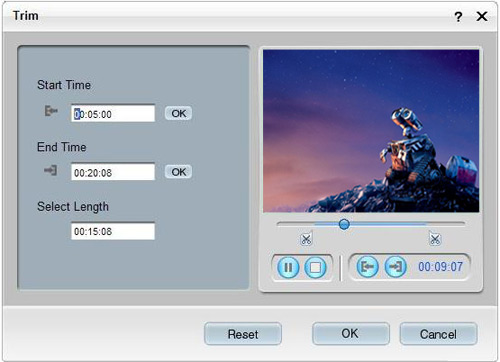
Enter the start time in the "Start Time" box and click "OK", then enter the end time in the "End Time" box and click "OK" and finally click "OK" on the lower.
2. Crop:
You can easily remove the black edges around your video and customize the size of video play region. Click the "Crop" button and a Crop Window comes out before you as follows:
Select a crop mode in the Crop Mode drop-down list and click "OK" to save the crop. There are six pre-set crop modes for your choice.
3. Merge several chapters of video into one files
You could enjoy a single long movie by clicking "Merge into one file" button to merge several short videos.
OK, your conversion is finished now.